Use your Twitch Stream to make Twitter, YouTube, Instagram & TikTok posts.

Introduction
I’ve come to realize through working with hundreds of creators that most, if not all, do not know the options available in optimizing their workflows. It’s well known that expanding live content, especially on Twitch, onto other platforms to grow your brand/stream is the current tried and tested strat for content growth.
My aim with this semi-brief article is to help creators of all sizes figure out how to use your spare resources and to optimize your overall stream-to-content workflow. The way I see it the less time you need to worry about editing, or all the tedious side of content creation like clip cutting, the more you can focus on your personal growth as an overall creator.

Knowing your resources
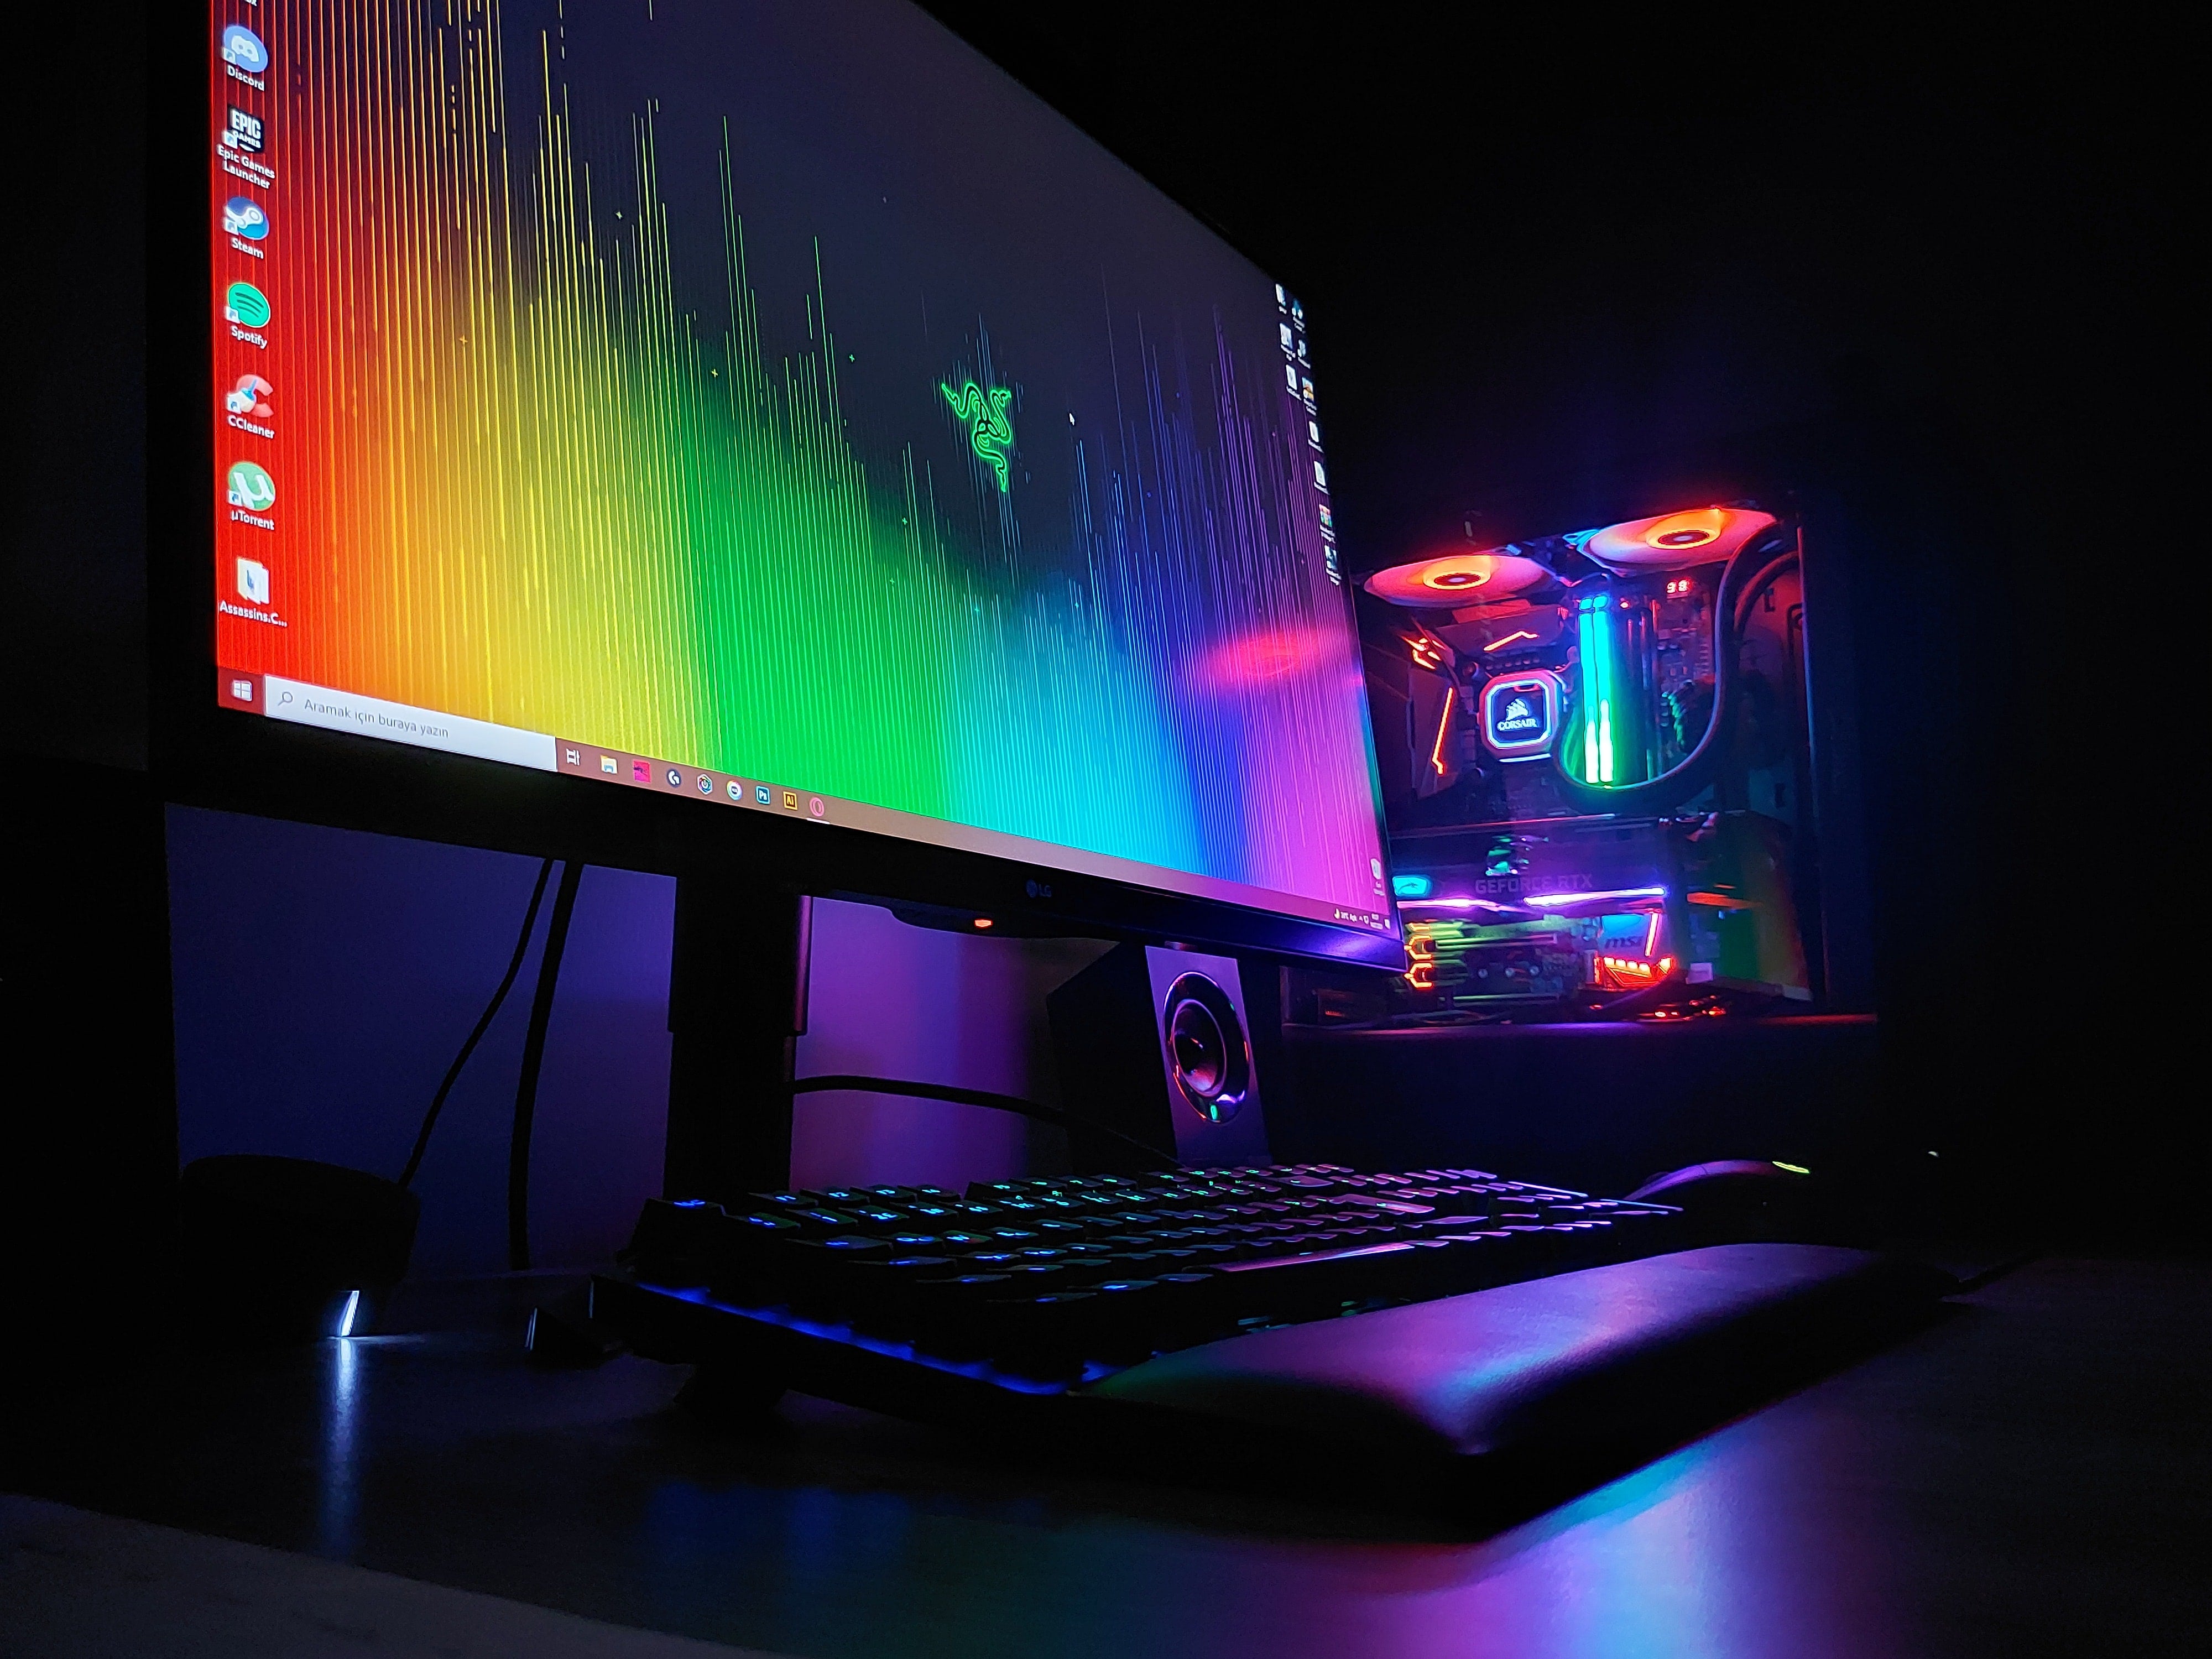
This comes down to knowing your hardware, and how far you can push it to its limits before it becomes a hindrance to the overall workflow. Easiest way I can break this down is through 4 tiers based on hardware availability. I.e whats your battlechest for content creation.
-Tier 1: 1 PC, low spec hardware. Barely enough to game on, but it does the job for the budget! Probably the bracket that requires the most trial and error. As this is the bracket with the widest range in PC components. There is no exact setting that will work with everyone due to the amount of excess resources to play with, ranging so much.
-Tier 2: 1 PC, high spec hardware. Can game at the highest settings
competitively, with newer tech allowing for excess resources to get higher quality content. This is the tier most people decide to start content creation in. With the new GPU’s, this is increasingly becoming the most cost-effective solution for any creator, but you will have to decide between game performance or content quality with certain games.
-Tier 3: 2 PC, one for the dream setup and a low tier 2nd pc. Get better quality content without affecting your gameplay. Game at full power, while having the 2nd PC do all the stream encoding. With the new GPU’s, you leave all your CPU power to allow for so much more. Most of the tips here will benefit Tier 3 & 4 creators the most.
-Tier 4: 2 PC, 2 supercomputers because you can. Power is not a problem, and you want the best quality that’s currently possible. If you have the flexibility and disposable income to have this set-up, I suggest you organise a call with us to discuss our custom stream solutions and assets. The possibilities of automated remote storage workflows for creator-editor teams are getting cheaper by the day, and there is no better time to get ahead on this than now.
You know your own setup, so tier yourself in that list and keep it in the back of your mind throughout the rest of the article! Know what spare resources are available to you so you can plan whilst knowing your limits and building out your workflow.

Preparation
With the knowledge of your current hardware limits, you should now start planning your streams with post-stream content in mind. This is different from streamer to streamer, but always try and think what will work best for your content and style.
A “Just Chatting” streamer might segment parts of their stream for reaction style content on YouTube for example. Whilst a “Competitive” player might focus on getting a YouTube worthy game, and some high-octane clips for shorts/socials.
Planning ahead of time is one of the best ways to optimise your workflow. Think about your stream structure, your hardware and software setup, and your editing and video storage. Planning efficiently with these in mind means you can do less work cutting/editing/scrubbing/posting, and spend more time streaming and developing your brand and skills.
Understanding your tools
I’ve always been a fond believer in learning and understanding the tools given to you that allows you to create the things you want to create. Brushes for painters, cameras and lenses for photographers and videographers, and in the case of content creation that is a list of things:
-PC hardware
-Streaming hardware
-Streaming software
-Editing software
These are, in my opinion, the core tools necessary for anyone to currently succeed in live content creation. PC hardware we went through in knowing your resources, but the other 3 are also core things I believe everyone needs to understand.
That means, understanding the difference in microphones, cameras and other equipment - and why you should pick one over the other. Same goes with OBS or Streamlabs Desktop, or other stream software/app solutions; understand what each does differently so you can plan your setup according to your specific needs. This also includes editing software - are there benefits to the paid Adobe package vs the free DaVinci resolve route for what you need it for.
These are all questions you should really ask yourself while designing your workflow. You’d be surprised what you can do with free professional grade software these days. The only limitation is your drive to learn how to use them.

Using the tools (OBS Studio) effectively
An incredible piece of open-source tech, OBS is arguably (and in my honest opinion) the best in class streaming package that everyone should use. Due to its community driven nature, OBS has developed into a do it all streaming/recording solution. I’ll go through a few techniques below that I should put everything I’ve written above together.
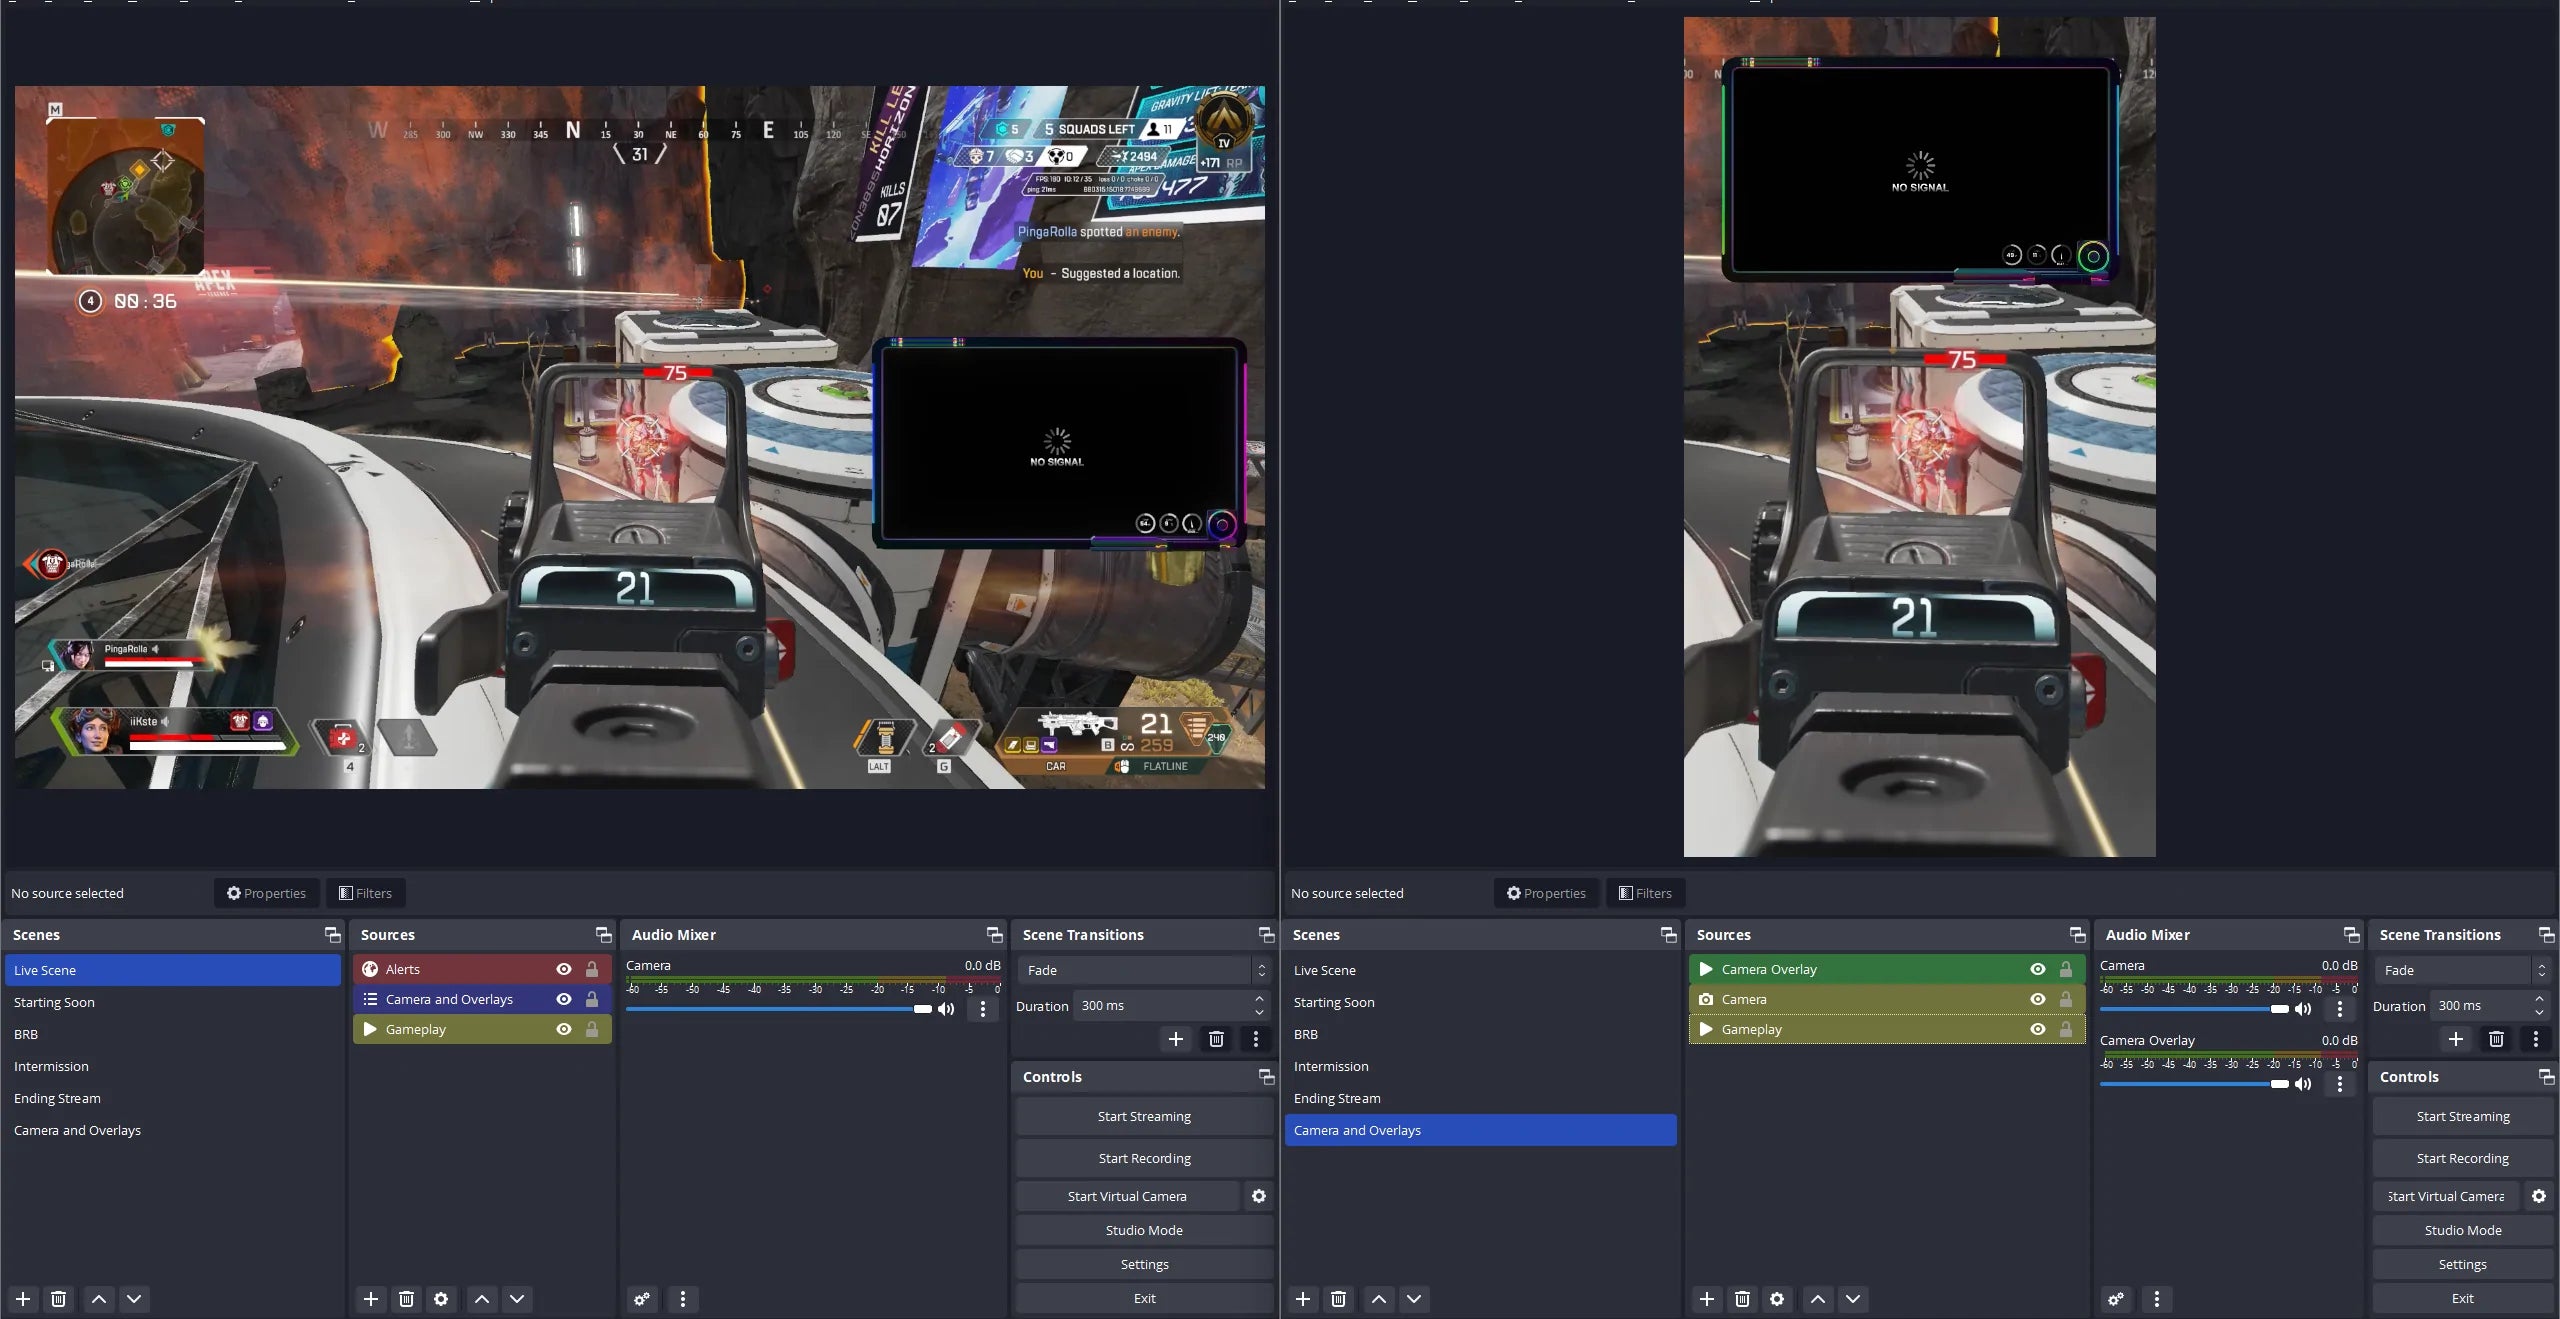
OBS Instances: Not many know that you can run multiple instances of OBS. This is one of the best ways to record/stream in different ratios, resolutions, and pre-built scenes at the same time using the same sources. You can also have a vertical ratio instance running a replay scene, a pre-built format for short content, while streaming and recording normal content. This is just one small example of how OBS can work in multiple ways for your content.
Portable OBS: A method to run isolated versions of OBS that doesn't use the general settings your normal version of OBS does. You can install all plugins, and isolate the gfx assets into its own folder, making it easy to create unique isolated setups. This is perfect for pairing with instances or storing a version of your stream package online for easy installation when traveling/swapping PC’s etc.
Source Record: A plugin for OBS Studio that allows you to record specific sources when you start a stream or record. Very handy for people that want to isolate their game/camera footage to make it easier to edit in post and at full quality.
These 3 combined with knowledge of basic storage solutions, allow you to create workflows that can save you a ton of time in post-production and editing. One of those “spend a few hours now to save hundreds over the year” situations. Your only real limit here is your hardware resource, and this is one of the prime reasons for understanding your resource tier. The more power you have available, the more you can do at much higher quality.
Creators that have dedicated editors - combining Instances with cloud storage solutions means you can create workflows where shorts/stream clips are hotkeyed and delivered instantly to editors in a pre-cut, pre-positioned format, and already in the correct resolutions.
For creators who do not have dedicated editors and are taking content creation on themselves - targeting a workflow where you have pre-built hotkeys for different content instances and then automating it to post on socials instantly will save you all the time of doing that after stream. Hotkeys like clip to tiktok or clip to twitter etc that use different instances and automation methods can cut out the editing process entirely for some creators.
Instead of spending all night cutting out your YouTube videos and prepping social media content, it could all be ready to post as soon as you stop streaming! That time saved can then be spent on yourself, family, or developing and planning future content.
To conclude
I would have loved to go into detail about optimisation, but it would have ended up being an overly technical read, that would bore even me. I hope this “bytesize” run through on workflow optimisation helped at least get you thinking about ways to ease your workload.
As I mentioned before, we are always open to talk. If you organise a consultation with us, we provide base and custom setup solutions for creators or content teams of all sizes. Or pop into our discord and we can open up a thread if you’d like some help/ideas on setting it up yourself.
GETREKT Labs and GETREKT Elements create custom and pre-made stream overlays for YouTube, Facebook, Twitch, Kick, Tiktok and all major streaming platforms, for use with StreamElements, StreamLabs and OBS.
GETREKT Labs features custom stream overlays, animated Twitch overlays, interactive stream assets, 3D world building, Unreal Engine 5 environments, custom widgets, stream overlays for OBS, camera overlays, reactive overlays, emotes, alerts, sound effects (sfx), set-up, coding and more for all items. Set-up includes all platforms and integration with StreamLabs, Stream Elements and OBS.
GETREKT Elements features pre-made stream overlays and assets, including animated Twitch stream overlays, camera overlays, stream layouts, emotes, alerts, sfx, Twitch panels, scene transitions, stingers, OBS overlays and more – all with an easy 1 click set up in StreamLabs and StreamElements with OBS.

