How to edit LUT Stream Overlays in OBS & Streamlabs
1. What are LUTs and why use them?
LUT stands for Look-Up Table. They are tools created by the film industry to quickly apply colour grading to their videos or images. It works by throwing colour values through formulas to output a colour change, and has been used by the film and photography industry for years.
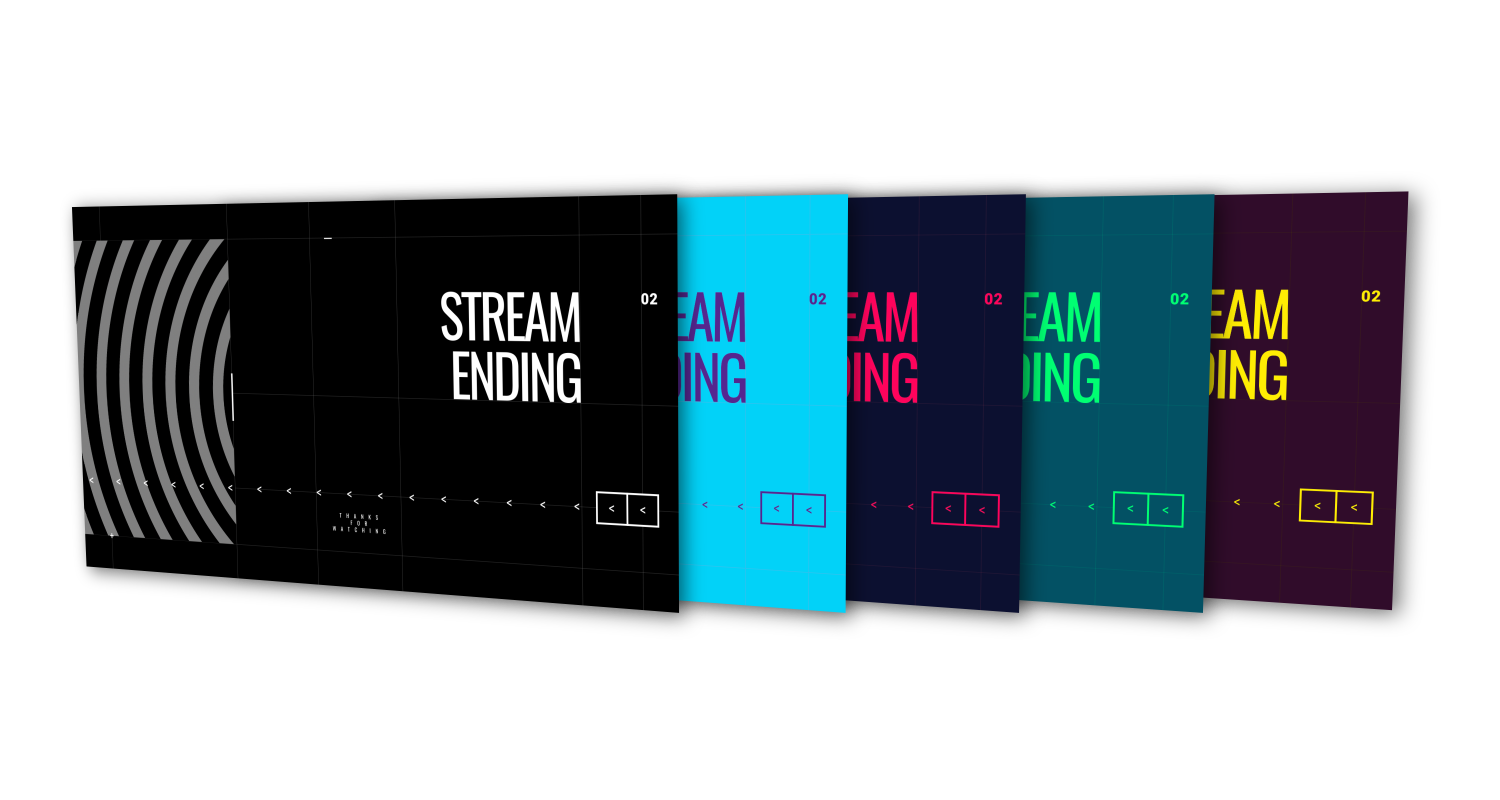
After some research and testing, we felt this was the easiest and lightest way to give the streamer colour variants in their purchase. So with that in mind, we've designed a few packs with the core idea to make it as easy to colour grade on the users end. Each unique LUT stream pack contains 3x LUT variations of the designers choice.
Take advantage of the Pack Builder, to create your own unique look blending from different LUT packs, or to just get the collect all of LUT variants. You can also just skip to the section on how to make your own LUT and experiment to make it completely unique to you!
* * *Please Note
These instructions are all based on the assumption that you have already done the full setup, if you haven't done so, please go through the Full Setup Guide first before applying your LUTs.
2. Applying LUTs to OBS Studio Sources
1. Open up OBS Studio and locate a video/image/browser source you want to apply a LUT to.
2. Right-Click on the source and choose Filters.
3. Click on the + symbol in the Effects section and select Apply LUT, then name it.
4. Click on Browse and locate the LUT you want to add.
5. Once the LUT is applied, close the filters tab
6. Right-click on the source once again, and select Copy Filters.
7. Right-click then Paste Filters on all of the sources you want change
This will work on Video/Image/Browser sources. But does not work with Transitions, so you'll have to scroll down to the transition section to learn how to quickly convert the transition with your desired LUT.
3. Applying LUTs to Streamlabs Desktop
1. Open up Streamlabs Desktio and locate a video/image/browser/widget source source you want to apply a LUT to.
2. Right-Click on the source and choose Filters > Edit Filters
3. Click on Add a Filter and select Apply LUT in the dropdown
4. Click on Browse and locate the LUT you want to add.
5. Once the LUT is applied, close the filters tab
6. Right-click on the source once again, and select Filters > Copy Filters.
7. Right-click then Filters > Paste Filters on all of the sources you want change
This will work on Video/Image/Browser/Widget sources. But does not work with Transitions, so you'll have to scroll down to the transition section to learn how to quickly convert the transition with your desired LUT.
4. Applying LUTs to Transitions
Niether OBS nor SLD have the ability to apply LUTs to the transition directly yet, so till that day, we need to convert the transition MOV to a WebM and applying the LUT in the process using Shutter Encoder; a free file converter we all use here in house to easily bulk convert our transparent MOVs to WebMs.
1. Start by downloading, then installing Shutter Encoder.
2. Open the App, and open up the folder containing the transition MOV
3. Drag and drop the transition MOV into the files box in Shutter Encoder.
4. Locate the Choose Function dropdown, and select VP9.
5. Important: In the settings panel, select Advanced Features and make sure Enable alpha channel is turned ON.
6. Select Colorimetry in the settings tab, and click on Apply LUT, then Manage.
7. Locate your LUT and Apply.
8. The default settings are fine, so go ahead and click on Start Function
9. When the render is finished, it should open the folder it created the files in, use this new file as your transition in OBS or SLD
5. Applying LUTS to Socials and Panels
1. Start by downloading, then installing Shutter Encoder.
2. Open the App, and open up the folders containing all of the images you want to convert.
3. Drag and drop the files into list box on Shutter Encoder
4. Locate the Choose Function dropdown, and select Image, make sure its set to PNG as well.
5. Important: In the settings panel, select Advanced Features and make sure Enable alpha channel is turned ON if you have any transparent files in the list.
6. Select Colorimetry in the settings tab, and click on Apply LUT, then Manage.
7. Locate your LUT and Apply.
8. The default settings are fine, so go ahead and click on Start Function
9. When the render is finished, it should open the folder it created the files in, use these to make sure all of your socials and stream is consistently branded.
6. How to create your own LUT
Adobe Photoshop will be your friend here! You can also make these on GIMP or download free ones from many resources on the internet.
But for the sake of ease and popularity of product, we'll show how its done on Photoshop here.
1. Open up Photoshop and add in the base image you want to use.
Our LUT Stream Packs are all black and white, so the colours are all converted accurately with our designers LUT collection.
2. If you have a BG Layer, unlock the BG Layer and delete it.
3. Select your base image that you imported into PS, and go to Layer > New > Background from layer
4. Now if you go to Layer > New Adjustment Layer anything in this list will affect the LUT you export. For this example, select Gradient Map as its the easiest way to map colours to tones.
5. Click on the Properties Tab then the Gradient Bar. Play with this as you please, one side will always attach to darker tones, while the other attaches to lighter tones. Experiment till you find a colour combination you like.
Alternatively, you can click on the dropdown and select one of the many preset gradient maps that photoshop has.
6. When you are happy with the look, press File > Export > Color Lookup Tables
7. Uncheck all options except for CUBE and click OK, select where you want to export then click Save.
8. Go back and apply your new LUT to the rest of your stream package!

GETREKT Labs and GETREKT Elements create custom and pre-made stream overlays for YouTube, Facebook, Twitch, Kick, Tiktok and all major streaming platforms, for use with StreamElements, StreamLabs and OBS.
GETREKT Labs features custom stream overlays, animated Twitch overlays, interactive stream assets, 3D world building, Unreal Engine 5 environments, custom widgets, stream overlays for OBS, camera overlays, reactive overlays, emotes, alerts, sound effects (sfx), set-up, coding and more for all items. Set-up includes all platforms and integration with StreamLabs, Stream Elements and OBS.
GETREKT Elements features pre-made stream overlays and assets, including animated Twitch stream overlays, camera overlays, stream layouts, emotes, alerts, sfx, Twitch panels, scene transitions, stingers, OBS overlays and more – all with an easy 1 click set up in StreamLabs and StreamElements with OBS.